Make a water rocket yourself! At AntiGravity Research Corporation, we’ve built a lot of water rockets. Over the years, we’ve figured out how to make an extremely simple homemade water rocket that flies very high (but not as high as our AntiGravity Water Rockets!)
Supplies You’ll Need to Make a Water Rocket
Make a water rocket ! This rocket design is so simple and easy to build that it’ll be all done in no time flat, or less!
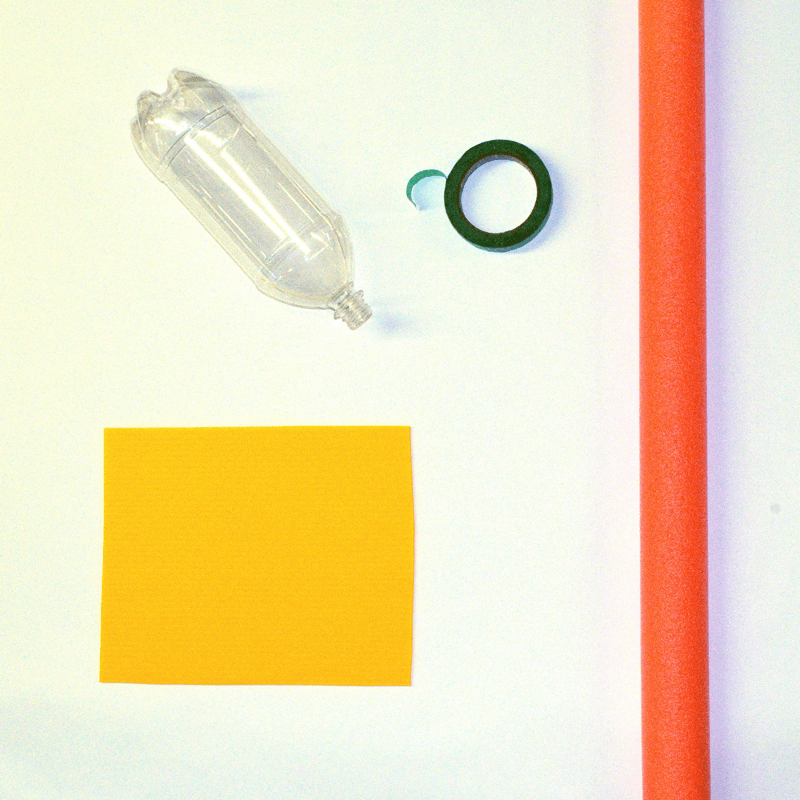
- one 2L pop bottle (this is most of your rocket!)
- three 4” x 6” pieces of ⅛” coroplast or corrugated cardboard (for making the fins!)
- a 1-inch-thick slice of foam pool noodle (a soft bumper for the top of your rocket!)
- a roll of ¾ inch wide masking tape (for covering the leading edge of the fins!)
Tools You’ll Need to Make a Water Rocket
To make a water rocket, you’ll need these tools:
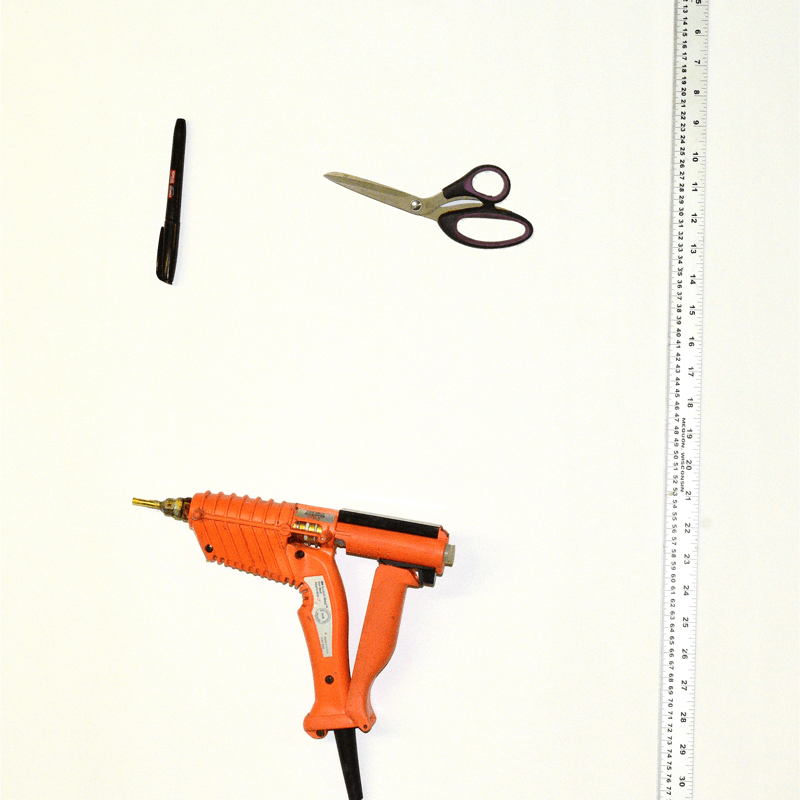
- a pen or pencil (for marking the lines on the fin material)
- a ruler (for measuring the fin sizes!)
- scissors (for cutting the fin pieces!)
- a low temperature hot-melt glue gun (dollar store type, for gluing the fins onto the bottle neck!)
Making the Homemade Water Rocket
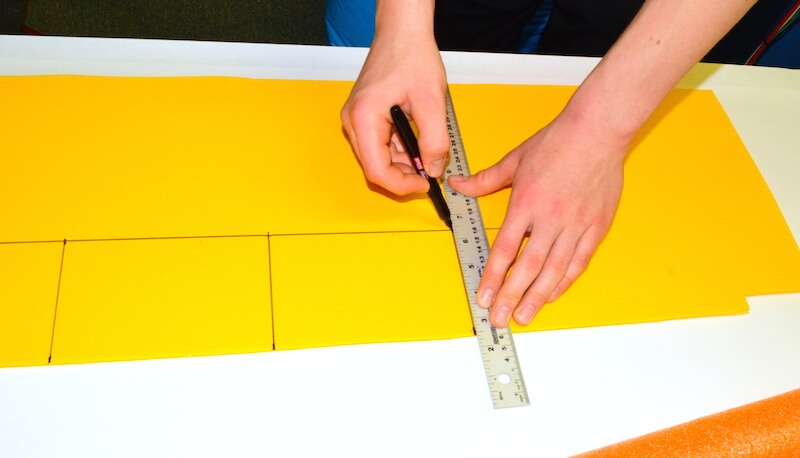
Use the pen to mark the outline of the three fins on the coroplast or corrugated cardboard. Each fin is 4 inches wide and 6 inches long. Make sure the corrugations run along the 6 inch length of each fin, for strength.
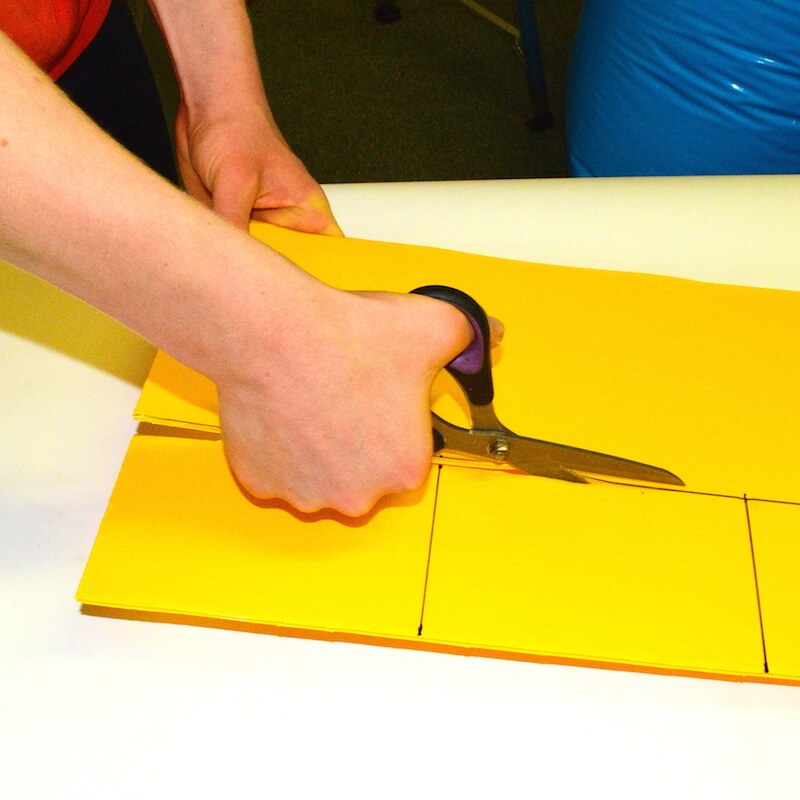
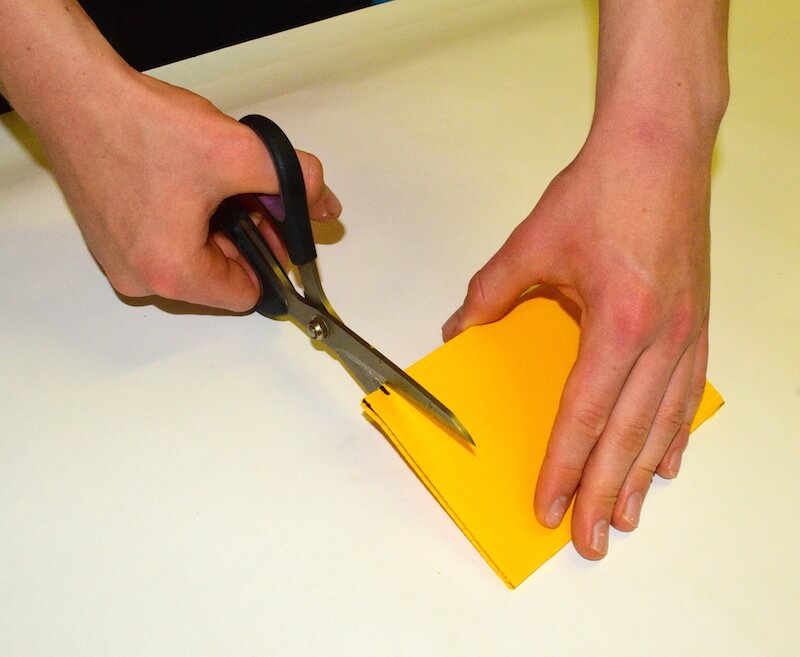
Using the scissors, cut the 3 pieces of coroplast (or cardboard) 4 inches by 6 inches.
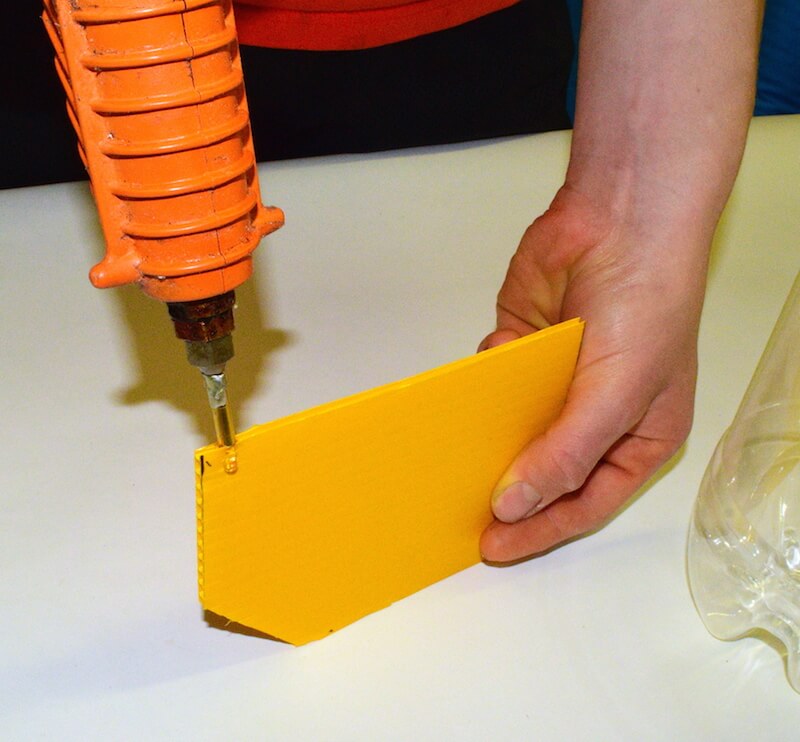
Cut a little notch so that the fin fits on the side of the bottle’s mouth.
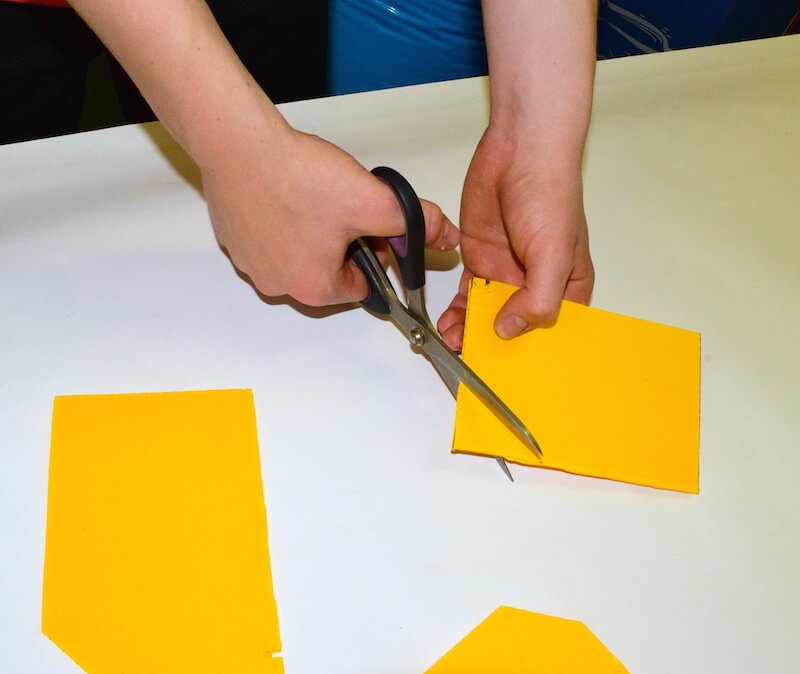
Cut a little angle off of the top outside corner of each fin to make them a bit more streamlined.
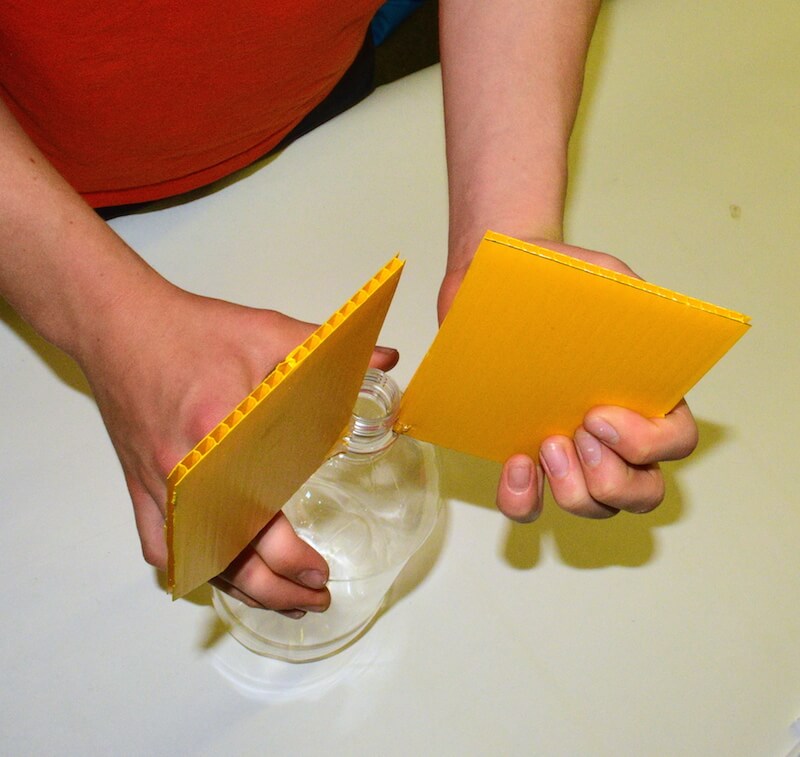
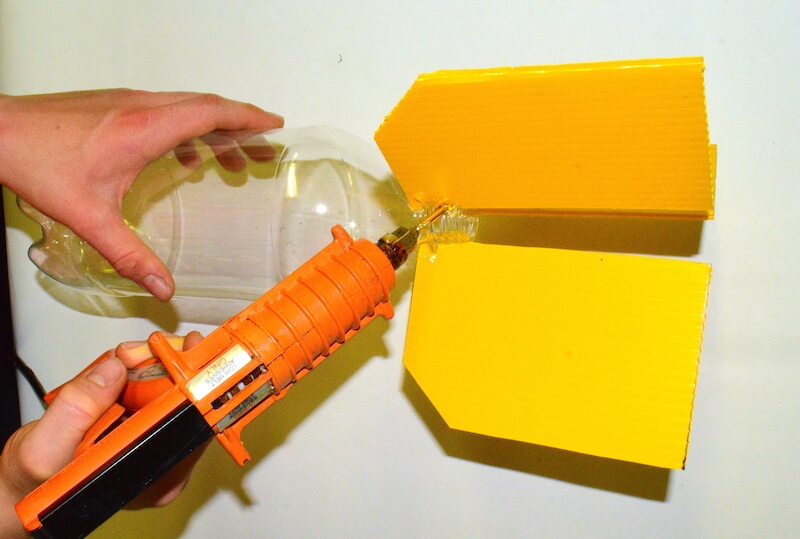
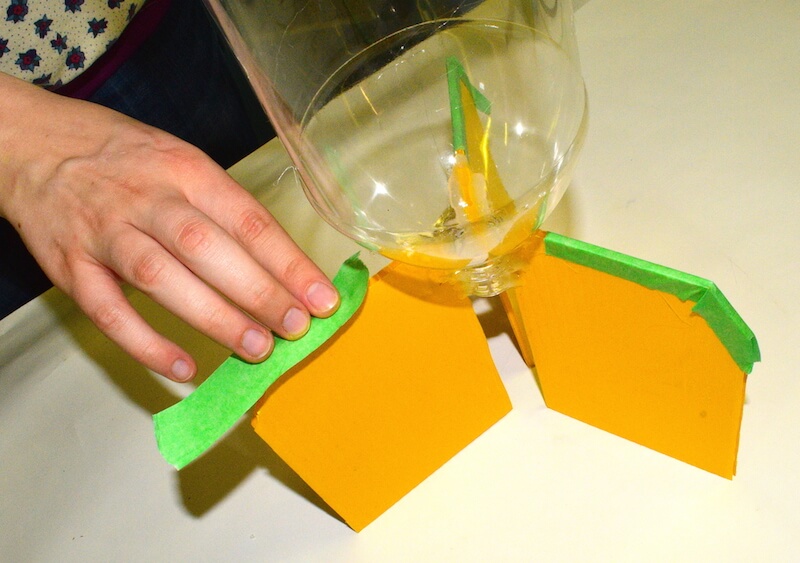
Use low temperature hot-melt glue to attach the three fins evenly spaced around the mouth of the bottle. Don’t get any glue into the mouth of the bottle, or you won’t be able to fit the cork in there later! Don’t worry if your fins are not perfectly even. Close is good enough!
Blow air onto the glue once the fin is in place to make the glue set more quickly. It’s hard work to stand there doing nothing while you wait for the glue to decide whether to set or not!
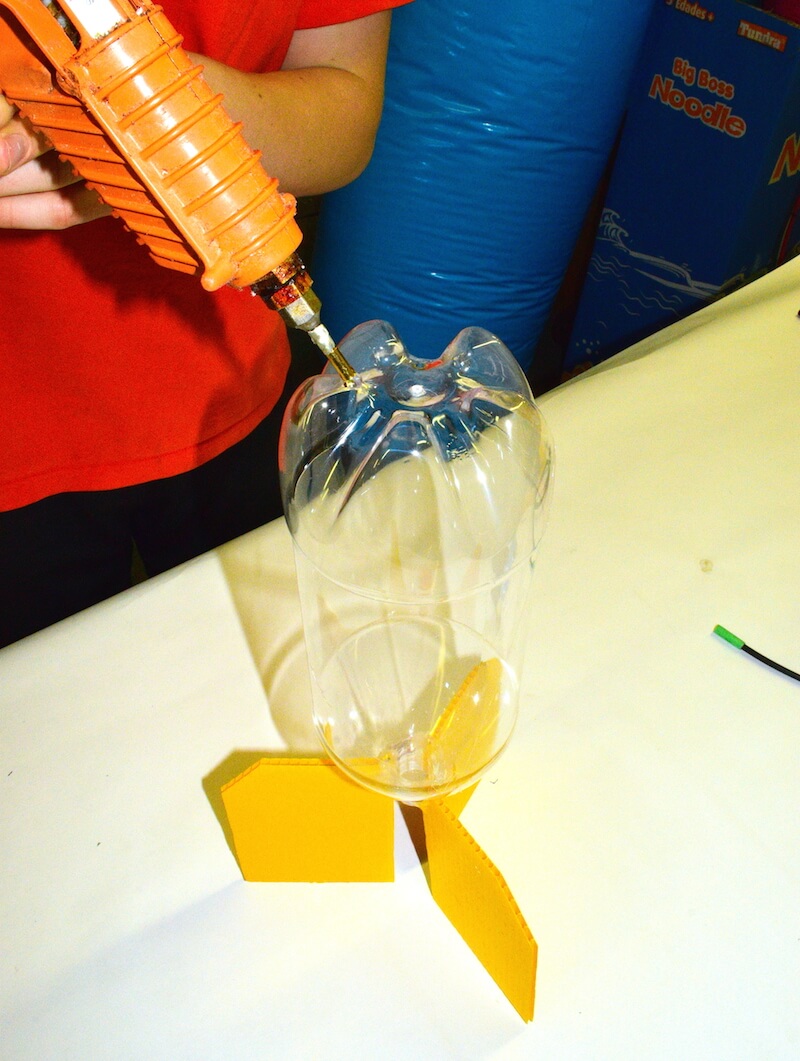
Add a bit of extra glue along the sides of each fin where it attaches to the bottle. It’s good to make these connections as strong as possible!
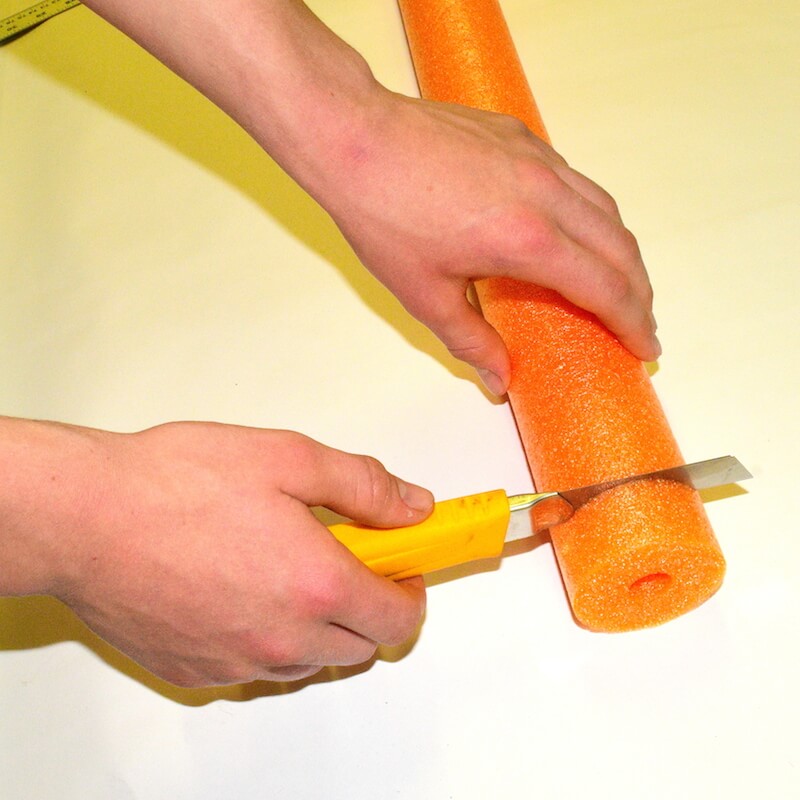
Use the X-acto knife to cut off a 1 inch slice of pool noodle for the top of your rocket.
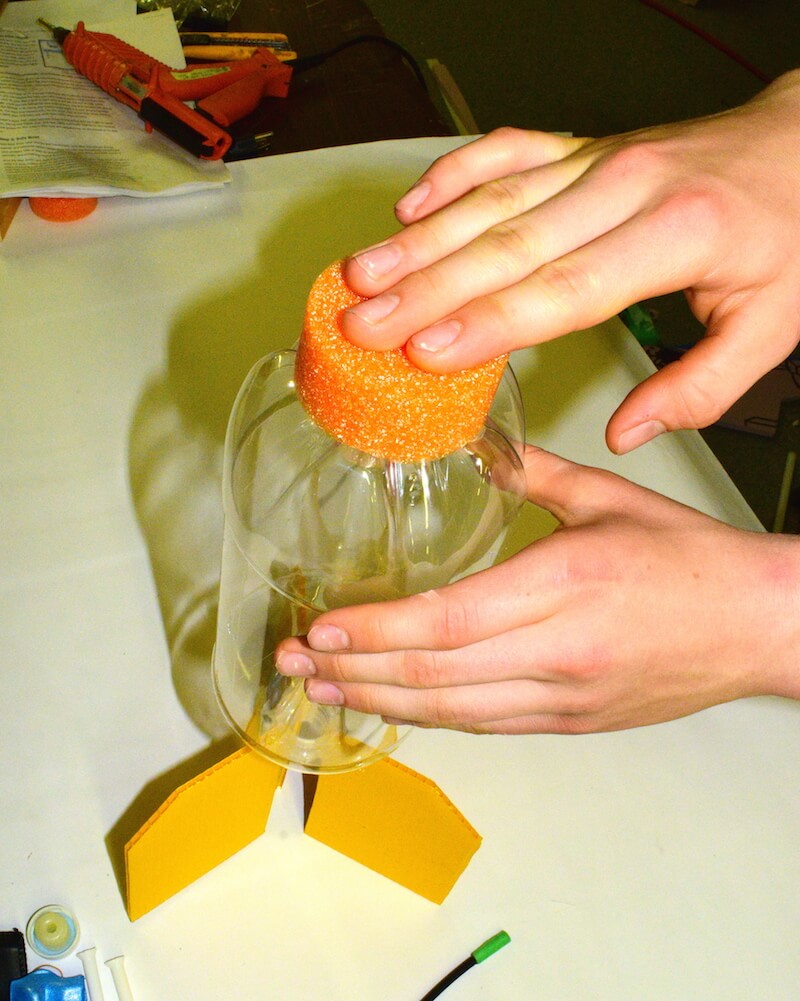
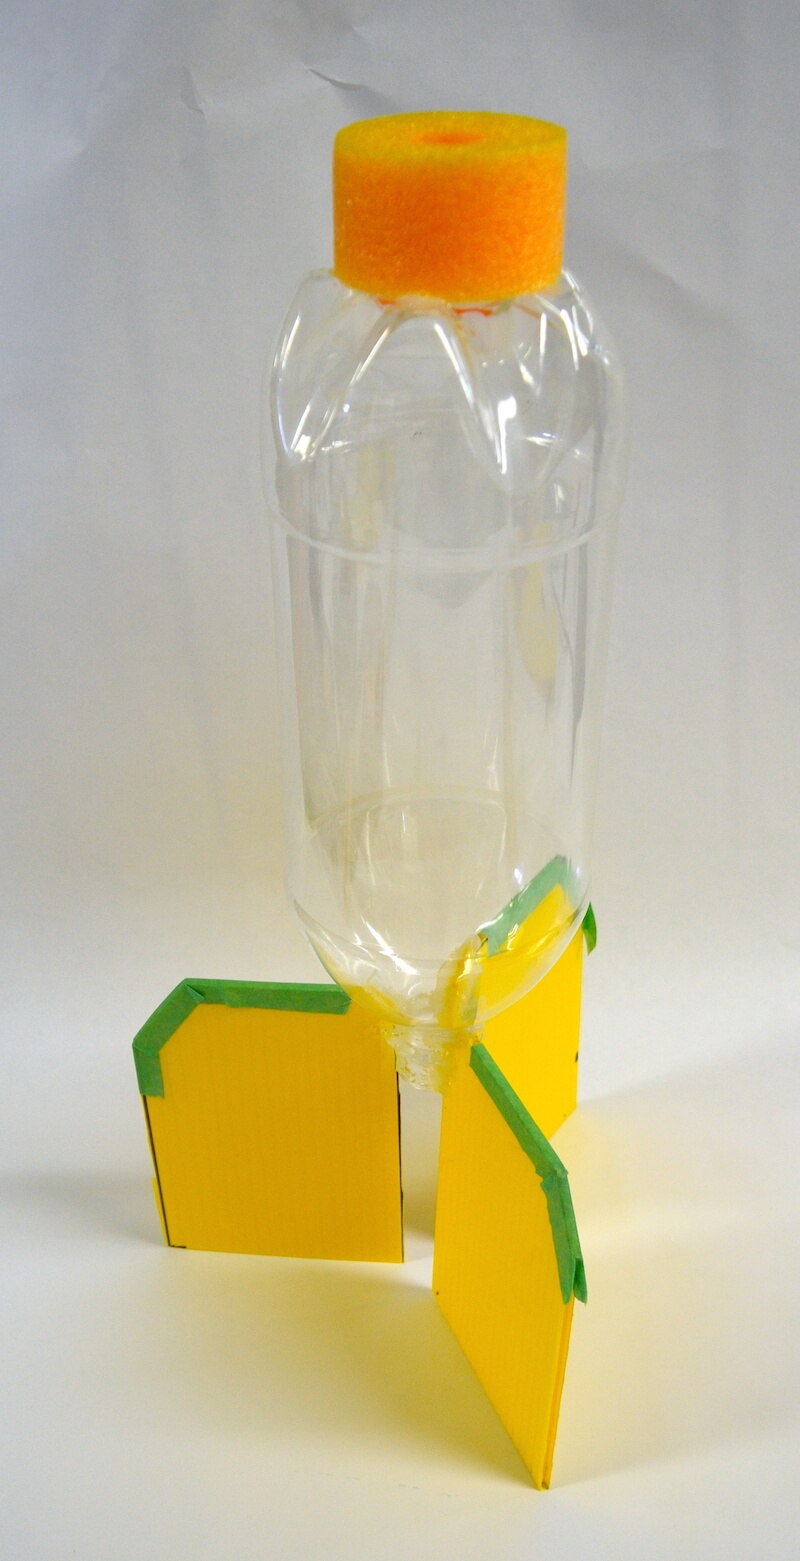
Use low-temperature hot melt glue to attach the slice of pool noodle onto the top of your rocket bottle. You may have to hold this in place for quite a while until the glue sets.
Put some masking tape over the leading edge of all three fins to make the edge softer, for safety purposes.
Tada! Your water rocket is all done! Too easy! Now let’s build the water rocket launcher!
 Let’s move on to Lesson #3: Building the launcher!