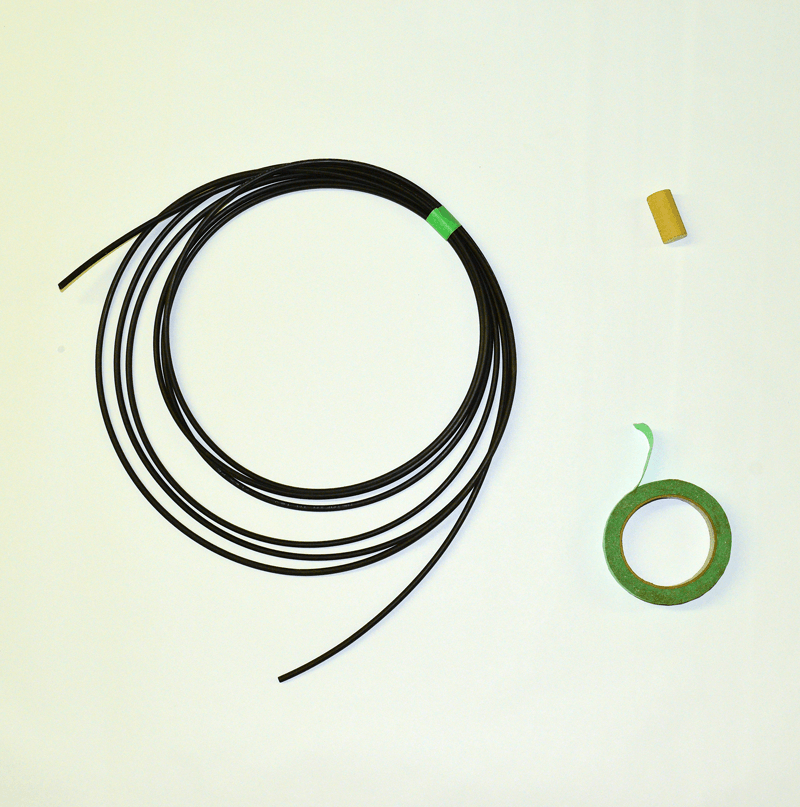
Supplies You’ll Need
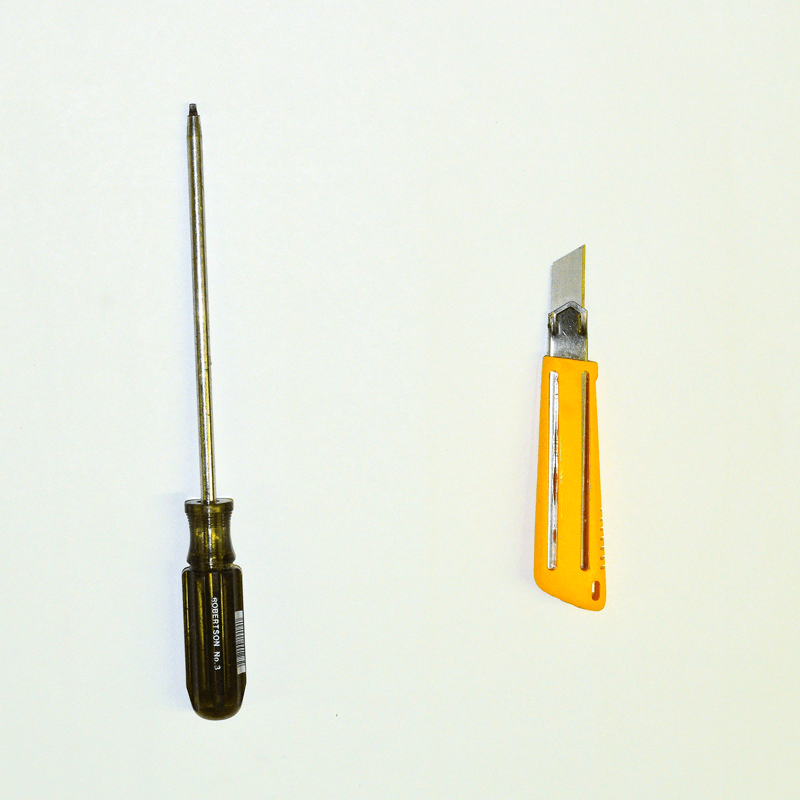
Tools You’ll Need For Your Water Rocket Launcher
- a pointy screwdriver (for poking a hole in the cork!) Philips or Robertson type, but not a slot screwdriver!
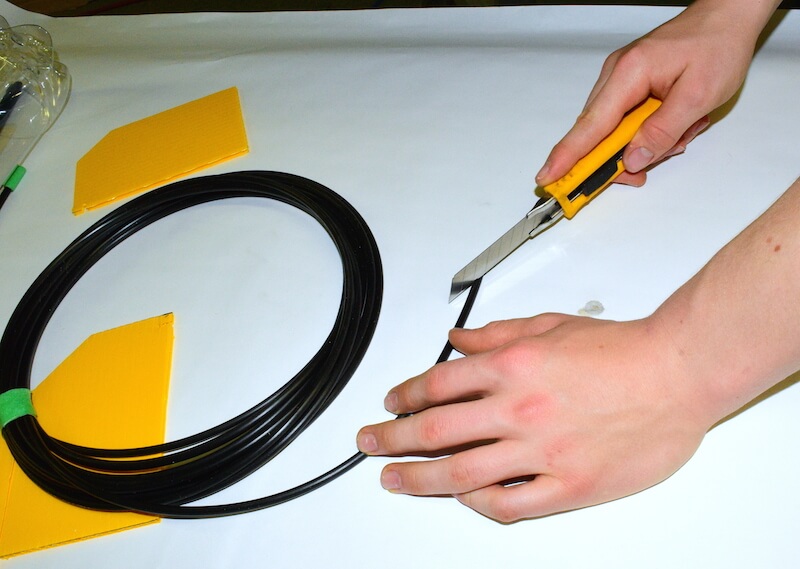
- a retractable blade X-acto knife (for cutting the tubing!)
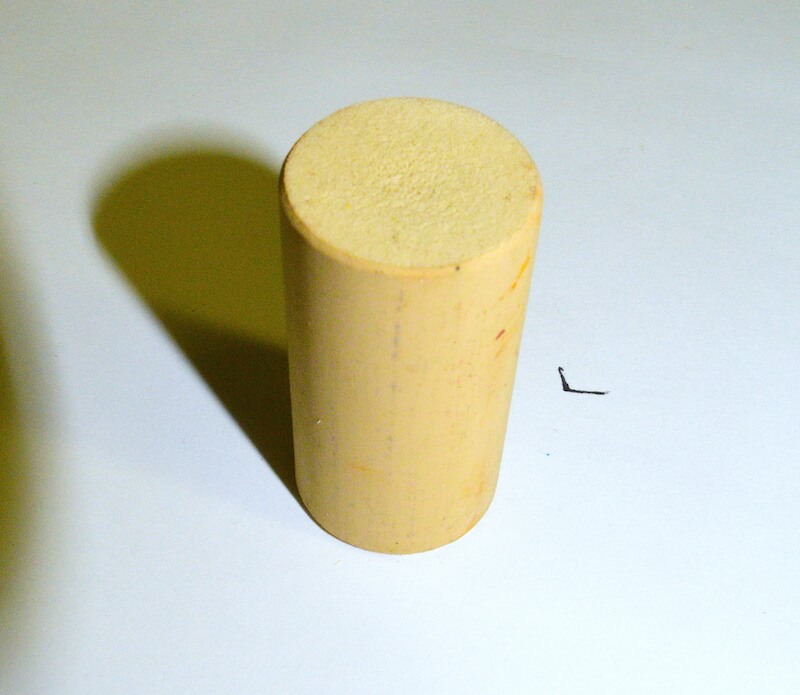
This is a plastic cork that is designed to fit snugly into the mouth of a 2-liter plastic pop bottle. It will be the nozzle release mechanism for the launcher.
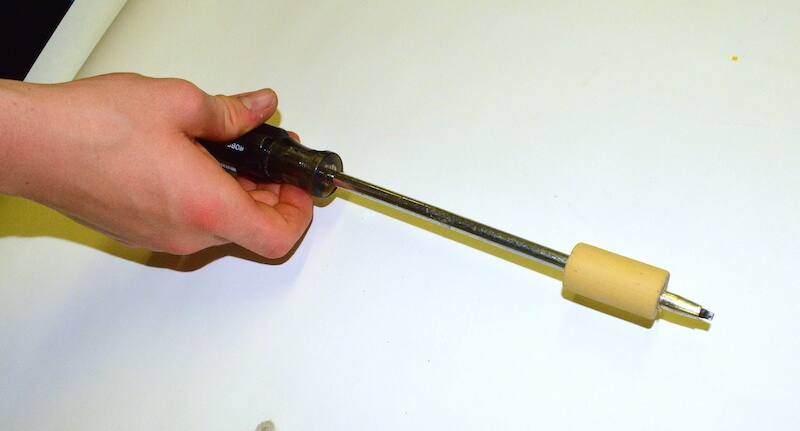
Use the screwdriver to poke a hole lengthwise right through the cork. The shaft of the screwdriver should be as wide or wider than your polyethylene tubing diameter. Be very careful when you are poking this hole so you don’t poke yourself!
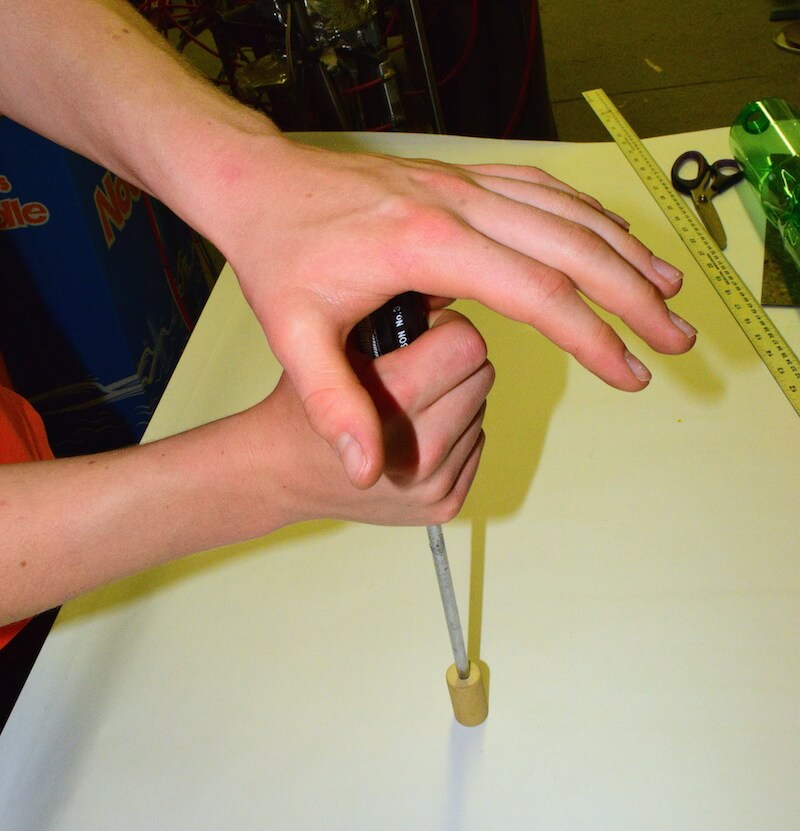
You may have to wiggle the screwdriver a bit to get it all the way through the cork.
Sharpen the end of the tubing by cutting off a bit of the end at a sharp angle. This makes it easier to push into the cork later on.
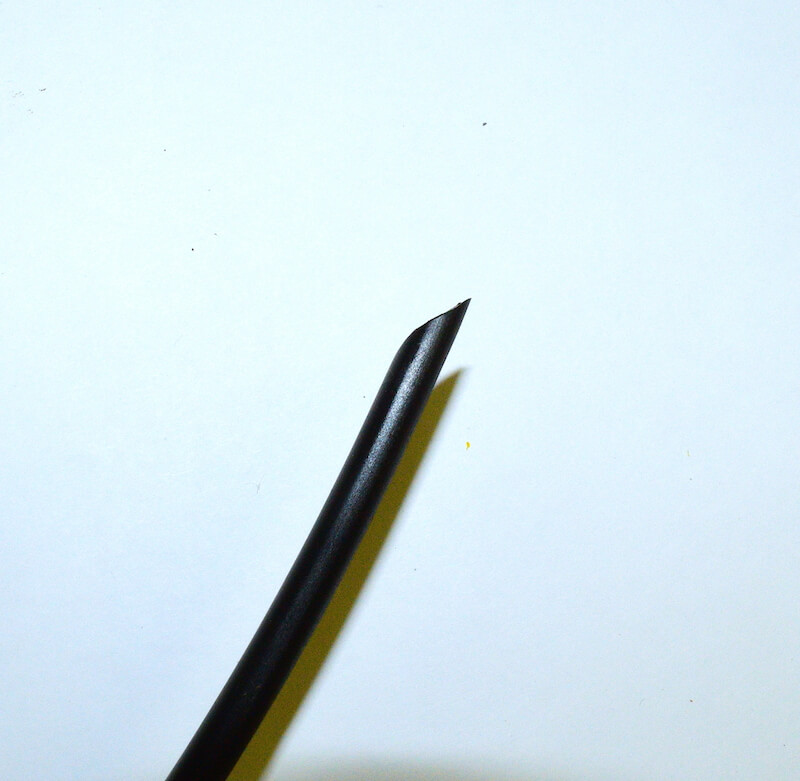
This is what the sharpened end of the tubing should look like.
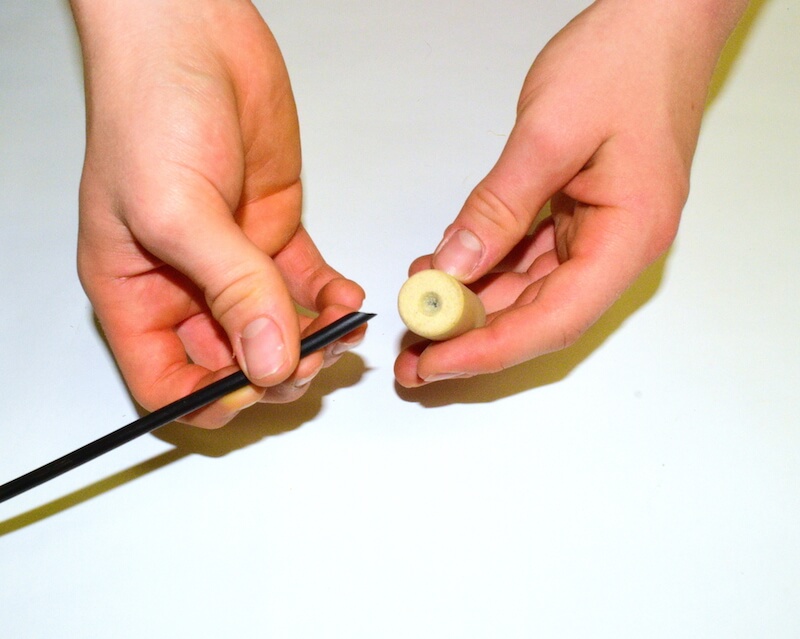
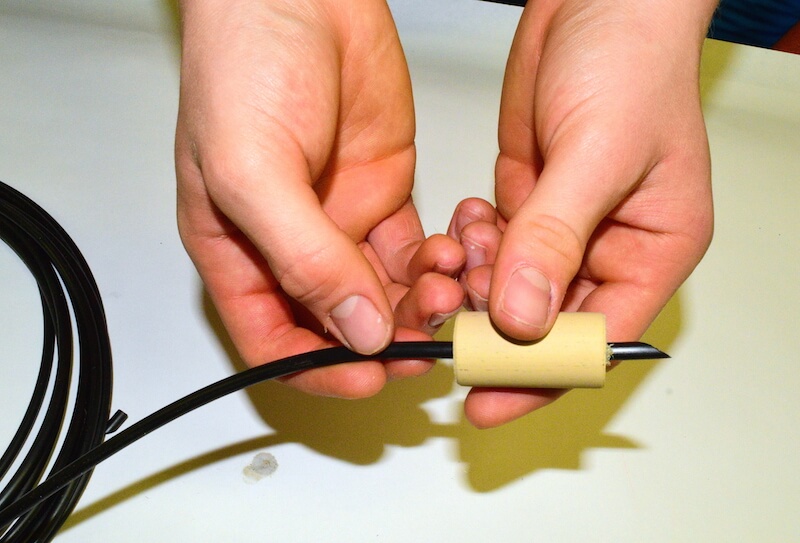
Push the sharpened end of the tubing into the hole in the cork. You have to do this quickly because the hole is gradually closing back up again. This is how the cork holds very tightly onto the tubing.
When the tubing has been pushed through the cork, it should look something like this. If you weren’t able to push the tubing all the way through the cork, that’s okay. It will work as long as you pushed it at least halfway through.
By this stage in the project, you are probably feeling really excited about the prospect of flying the rocket you built, or you are totally flustered and ready to buy one of AntiGravity’s easy-to-assemble Professional Advanced Water Rockets that require no special tools, and take only 5 minutes to assemble by clicking everything together. Who could blame you?
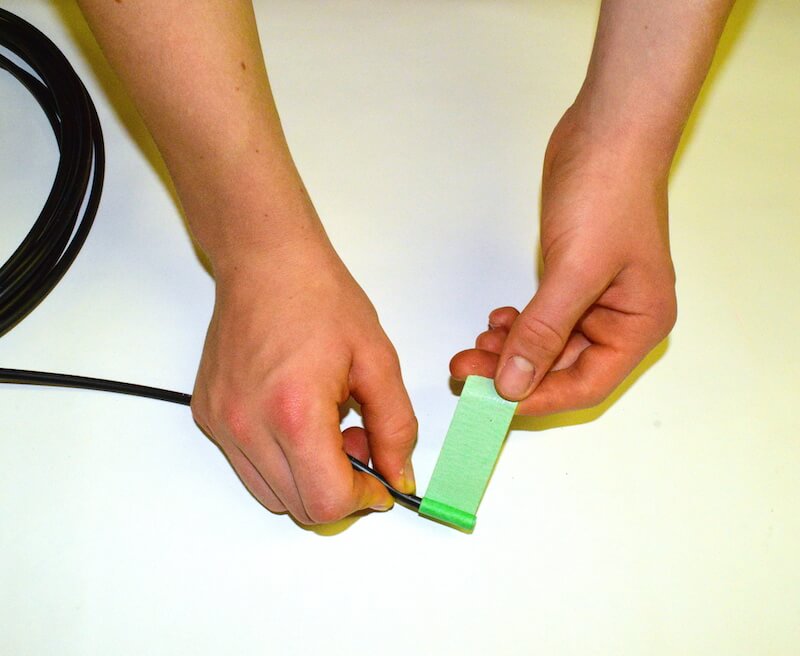
Carefully wrap a length of masking tape around the other end of the tubing until its diameter is wide enough to fit snugly into the bicycle pump’s open connector. If the rolled tape won’t fit in, unroll and remove a layer or two. If it’s too loose, get another piece of tape and put on a few more wraps.
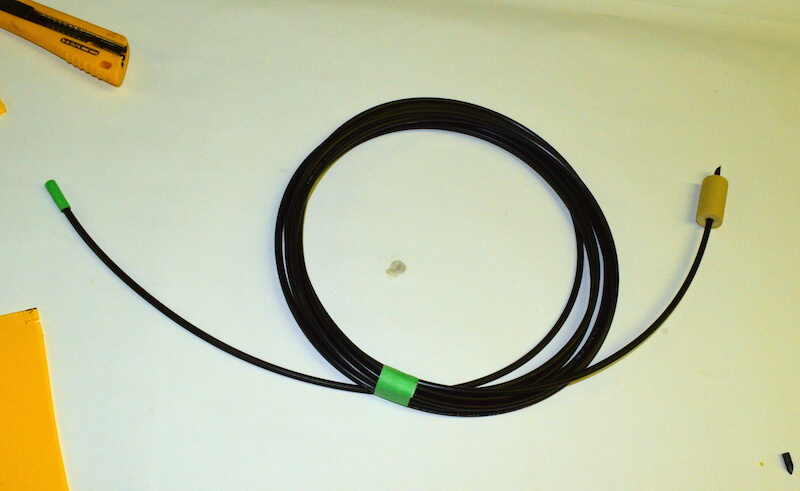
Your finished launcher should look like this. When you launch your rocket, the green end will attach to the bicycle air pump connector and the cork will fit into the mouth of the rocket bottle.
 See you at Lesson 4: Launching Your Homemade Water Rocket!