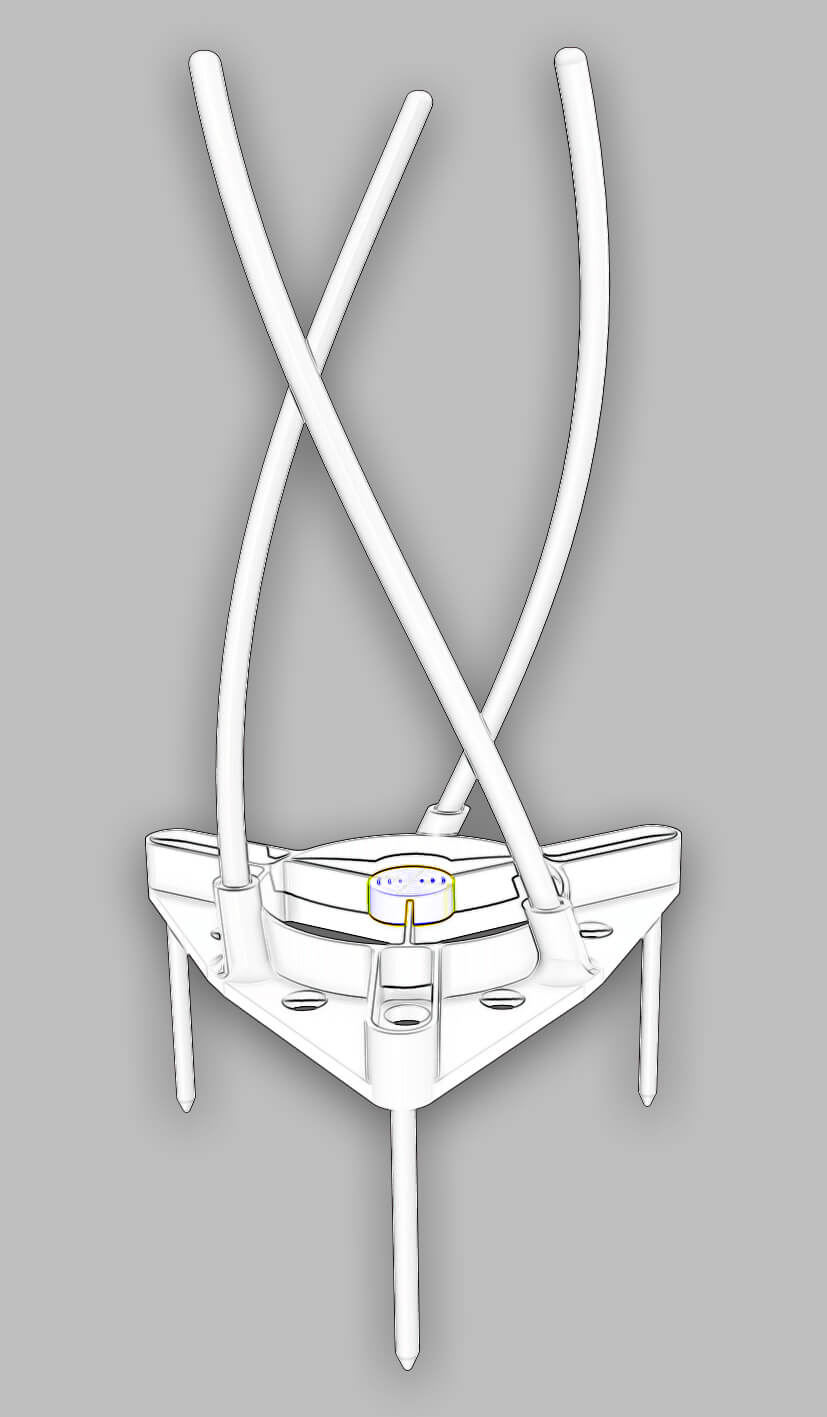
Spin Launcher Assembly
About the Spin Launcher
AntiGravity rockets are spin stabilized on the way up. The fins are angled so that they rotate the rocket clockwise (viewed from the top). It takes a few seconds after liftoff to spin fast enough, but this isn't soon enough. The Spin Launcher gives the rocket a vigorous spin right from the very start of the flight without any delay. The spinning also eliminates the need for a long guide rod, so this launcher's curved rods are only one foot long (300 mm). The three curved rods engage six rings in the rocket's booster stage to actively spin the rocket upon liftoff. In addition to these step-by-step instructions, here's a video of how to assemble the launcher.
Approximate assembly time: 44 seconds
Attaching the Curved Rods
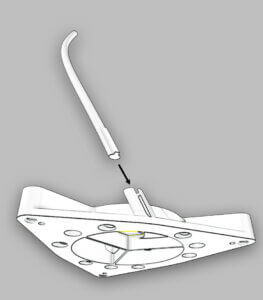
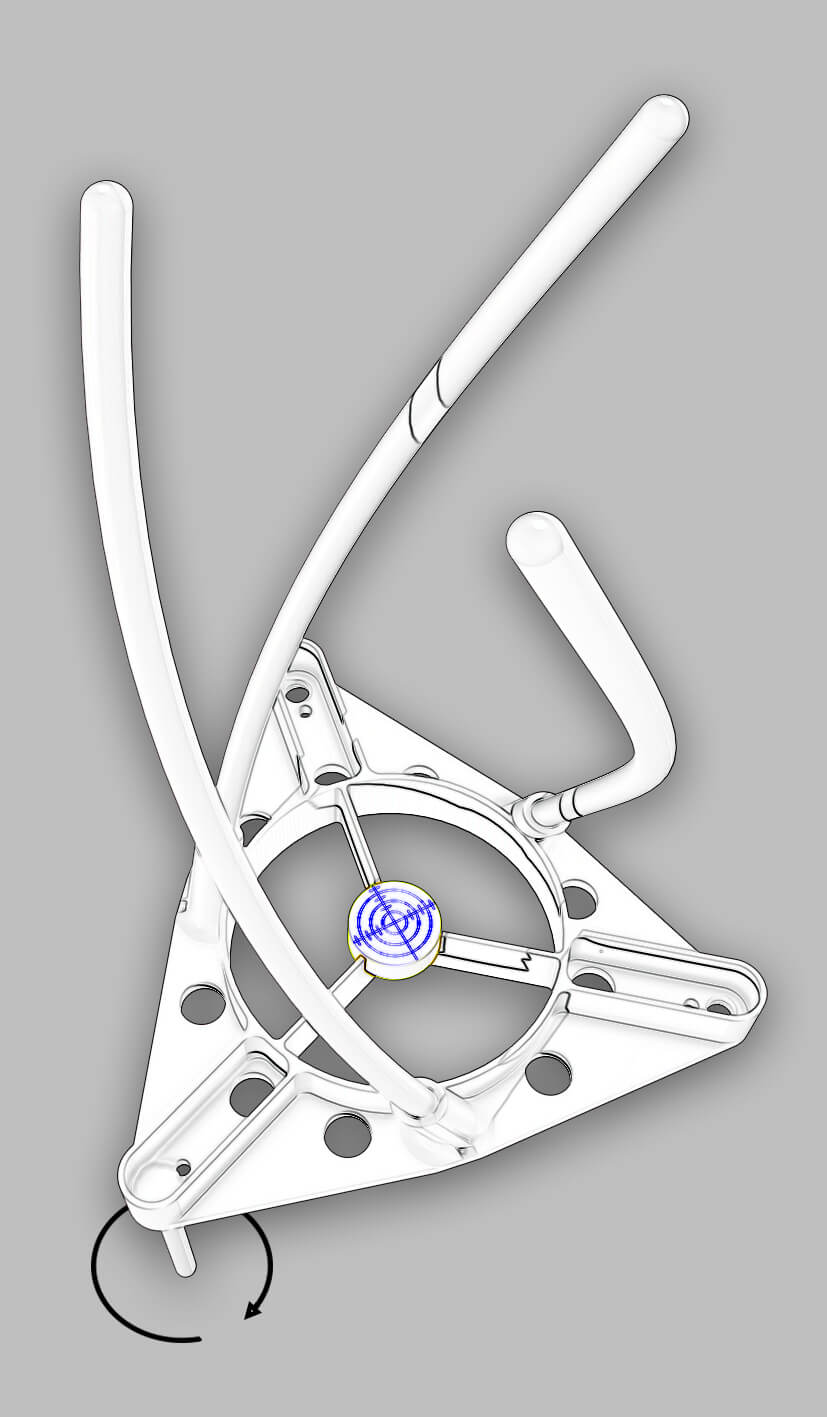
Insert one of the curved rods into one of the receptacles in the triangular launcher base. The notch on the rod should line up with the slot on the base. Push the rod in until it reaches the bottom of the receptacle.

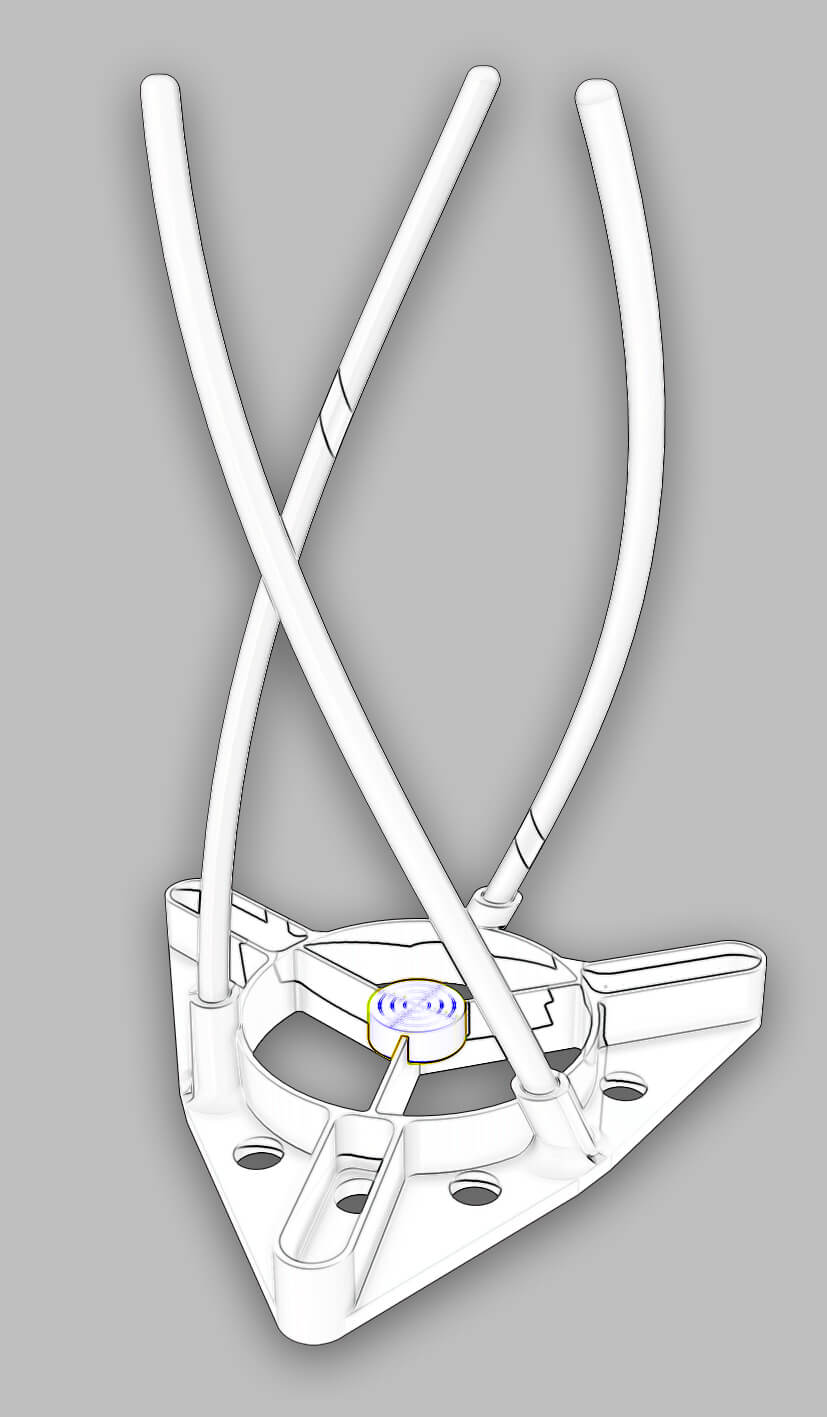
More Curved Rods
In the same way, insert the other two curved rods into the launcher base.
Inserting the Ground Spikes
Insert one of the spikes into a corner hole in the launcher base. It should slide into the hole easily until it gets to the threaded part. Then, holding the spike from below the launcher base, twist the spike clockwise (looking from the top), so the spike is fully threaded into the hole.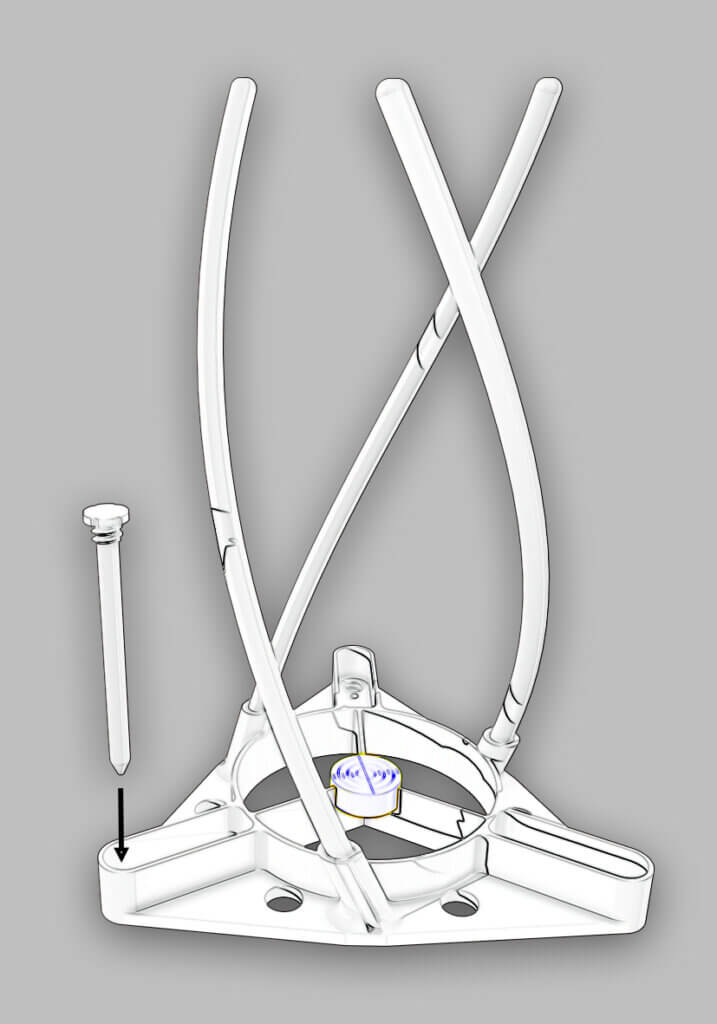
The Last Two Spikes
In the same way, insert the two remaining spikes into the other two corners of the launcher base, making sure they are fully threaded into the holes. Now you have finished assembling the Spin Launcher.
Setting up for Rocket Launches
The Spin Launcher's spikes need to be firmly attached to the Earth to provide a stable base for rocket launches. To press the spikes into the ground, the ground should be a soft grassy surface. Press the spikes in little by little from corner to corner to avoid bending them. The bubble level in should show the bubble centred so your rocket goes straight up. The spikes only need to go halfway into the ground unless the ground is very soft.
What if the Ground is Too Hard for the Spikes?
If you have trouble pressing the spikes into the ground, try a different spot where the ground is softer or where there are no hidden buried rocks in the way. Or, you can try pouring water on the ground and wait a while for the ground to soften. If there is no way of pressing the spikes into the ground, remove all three spikes (turn them counter-clockwise viewed from the top) and then use three wood screws (the launcher base has extra holes for this) to attach the launcher base to a 2 feet by 2 feet ( 60 cm x 60 cm) piece of plywood, 1/2 inch thick (1.27 cm). Then the plywood can rest directly on the ground to provide a stable base for your launcher.
Transporting the Spin Launcher
To make it easier to transport, you can dismantle the launcher. This should be no problem, because you are now an expert at assembling it in less than 37 seconds.